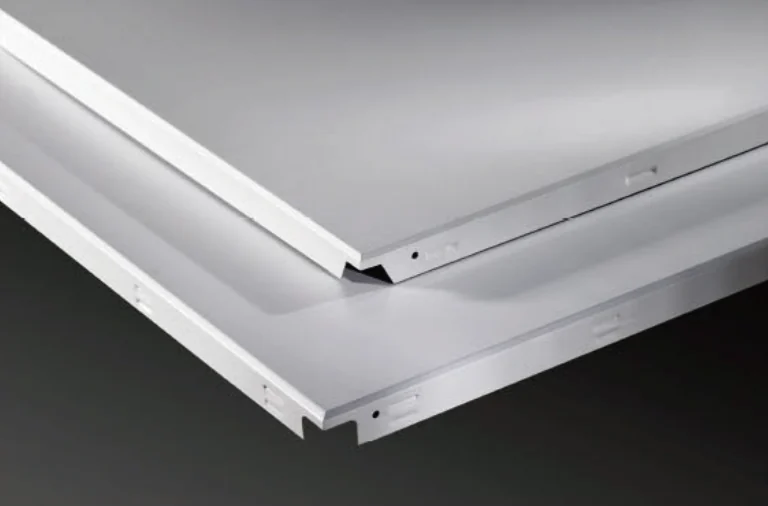
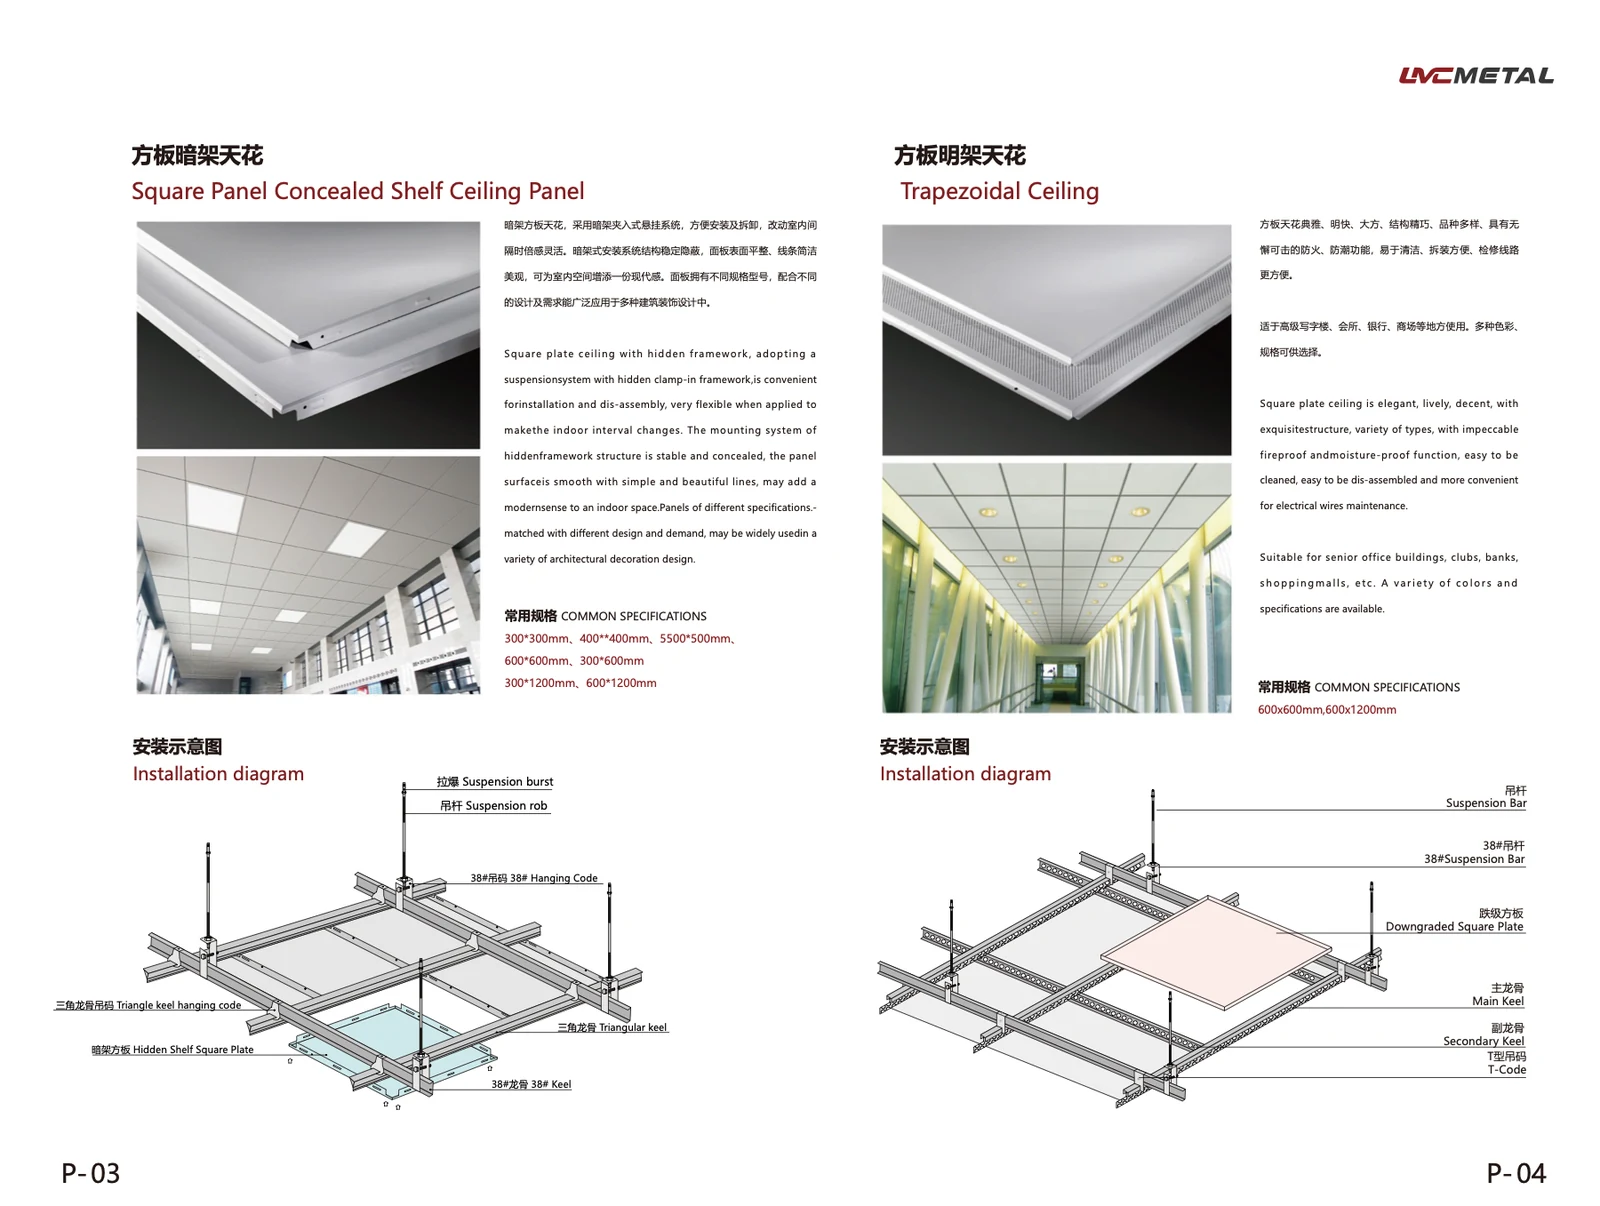
Square panels · Concealed / exposed grid
A modular ceiling plane with different edge and support arrangements. Coordinate joints and access with the selected system.

LMC METAL
Ceiling systems. Distinctive surfaces.
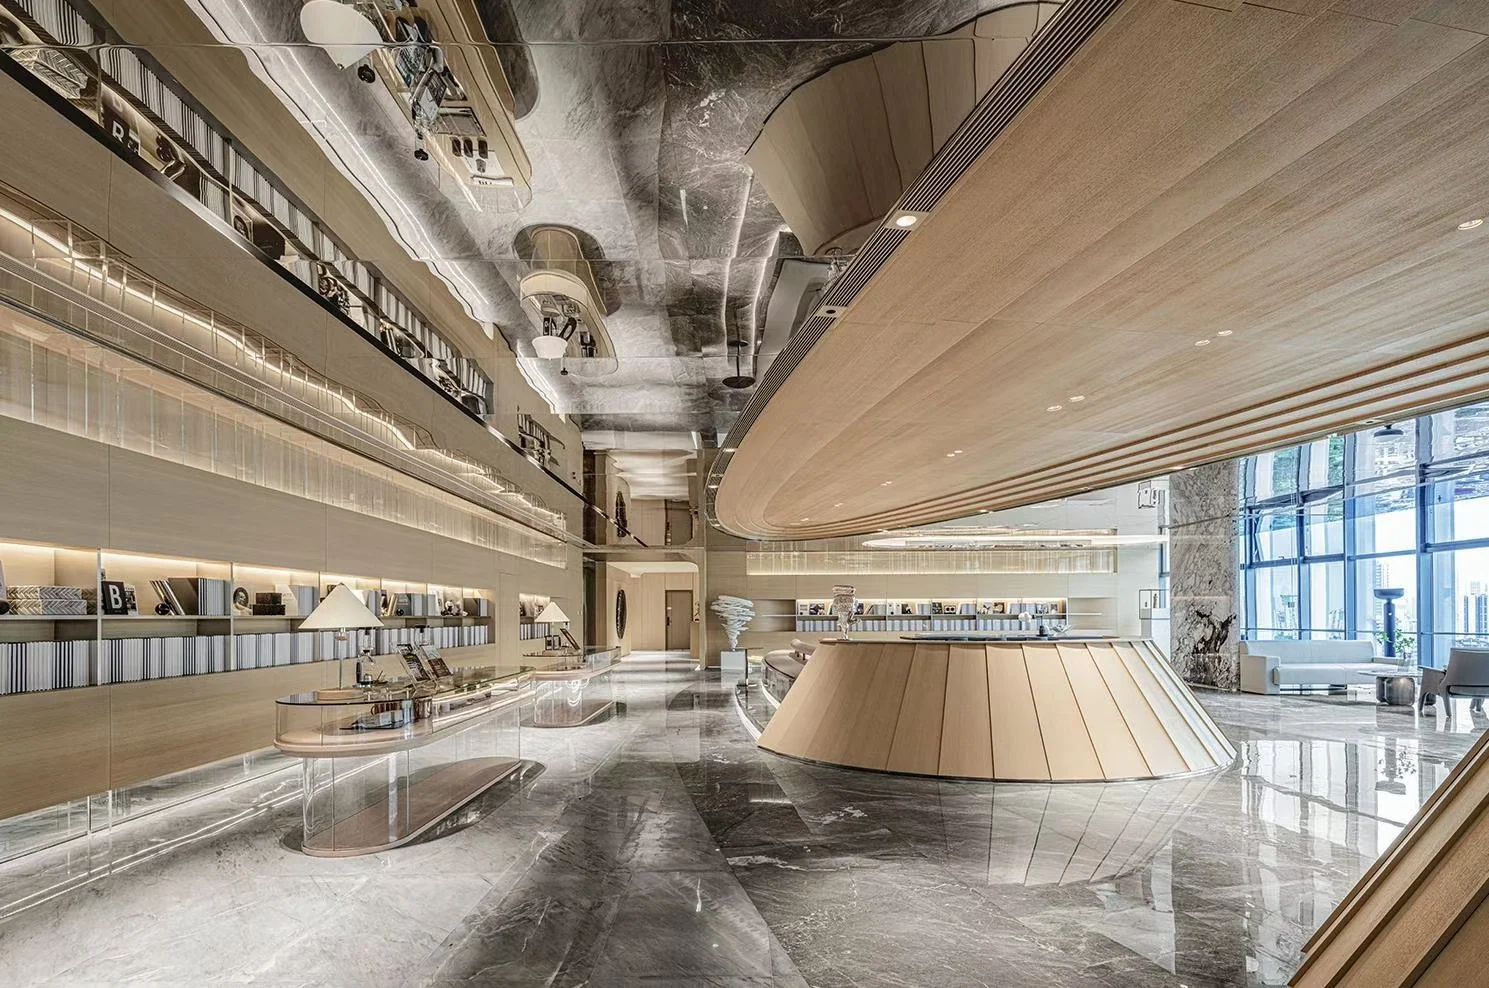
Aluminum ceiling systems and custom stainless steel ceiling surfaces, coordinated with the room layout, finishes and service access.
Reflective stainless steel ceiling · Interior application
01 / ALUMINUM SYSTEMS
From continuous planes to open lines, select a ceiling form around the room, building services and access requirements.
A modular ceiling plane with different edge and support arrangements. Coordinate joints and access with the selected system.
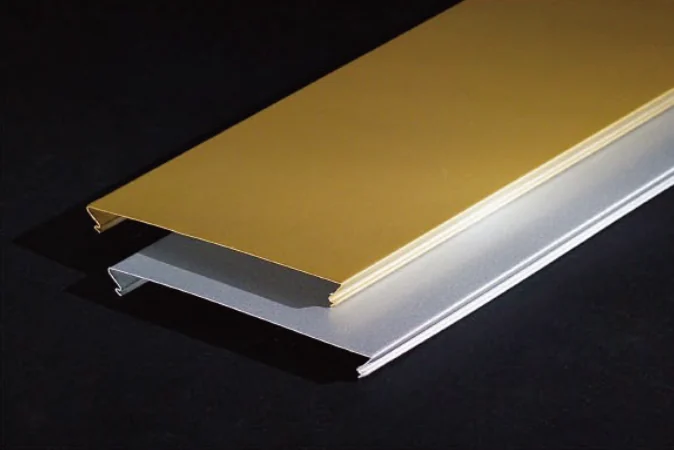
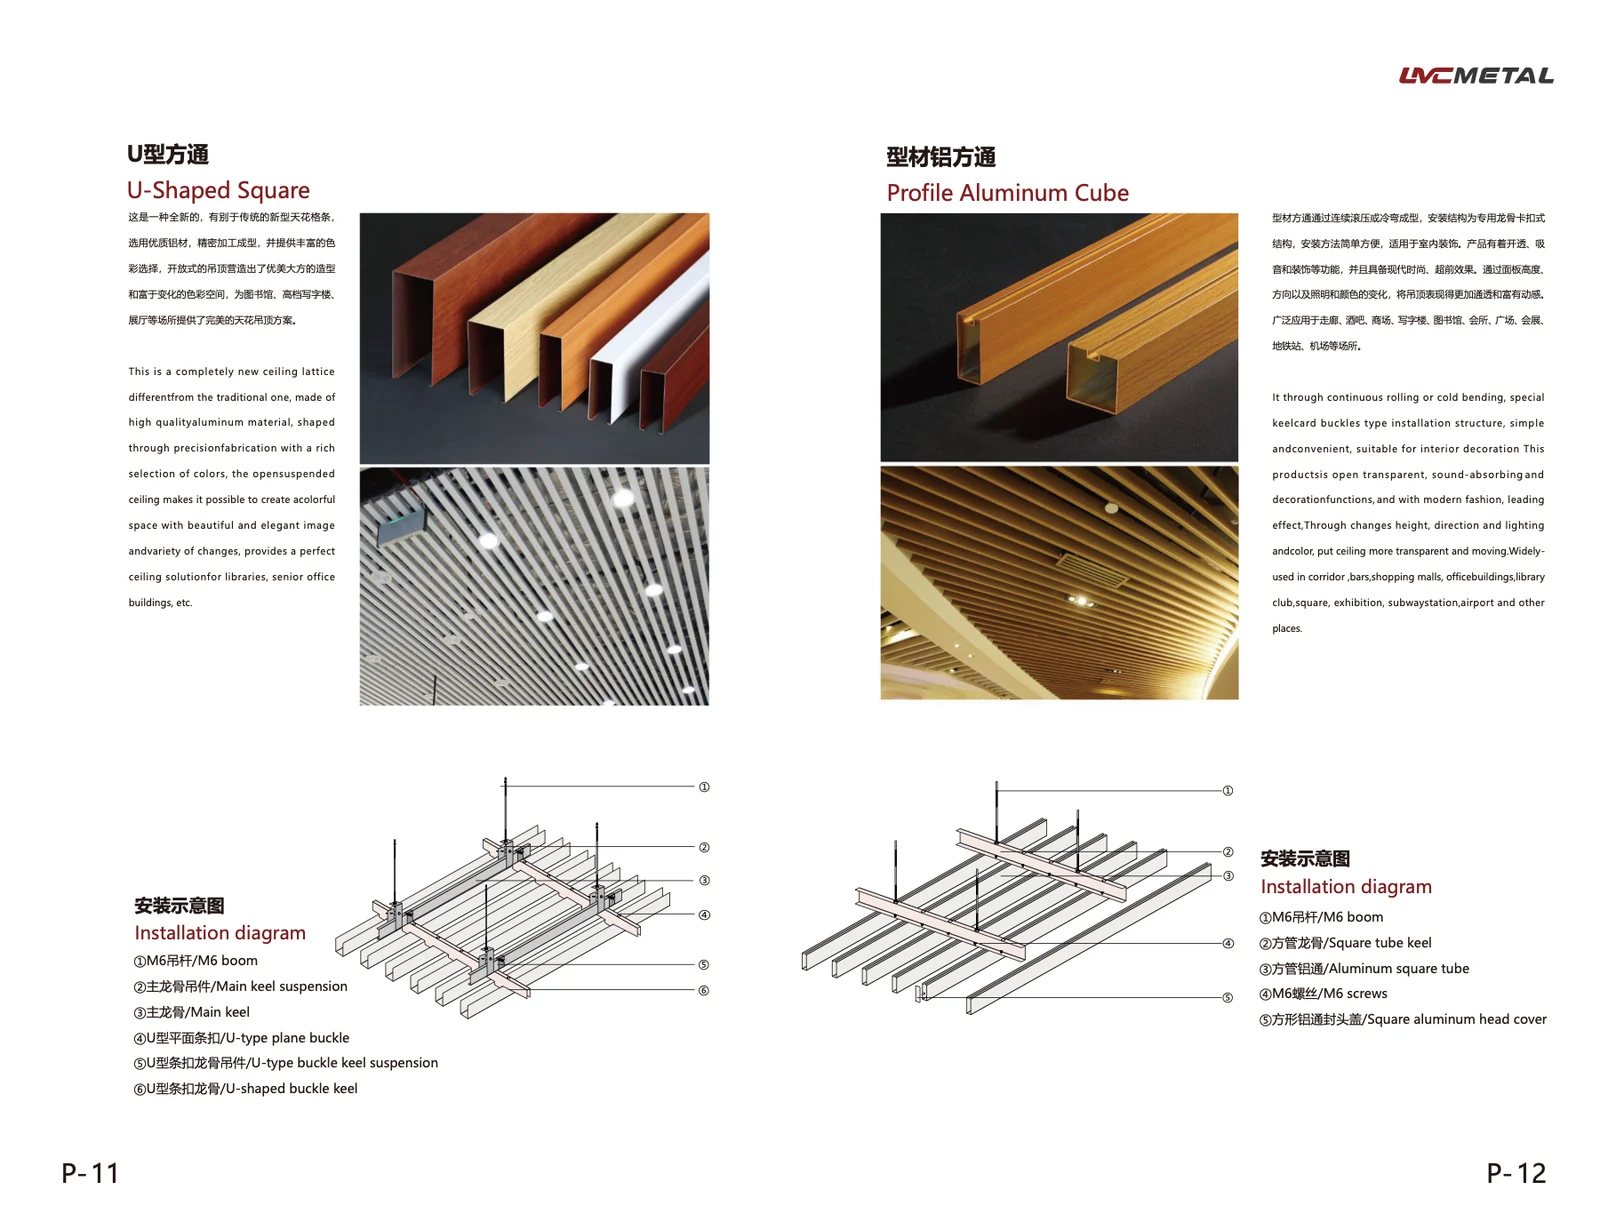
Closely arranged strips create a directional ceiling. Coordinate strip width, end details and lighting with the room layout.
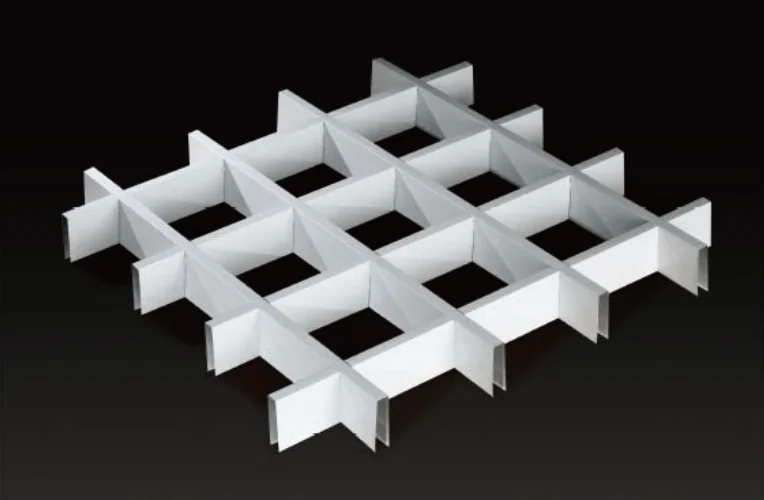
An open grid gives the ceiling a regular visual rhythm. Plan cell size alongside the appearance of services above.
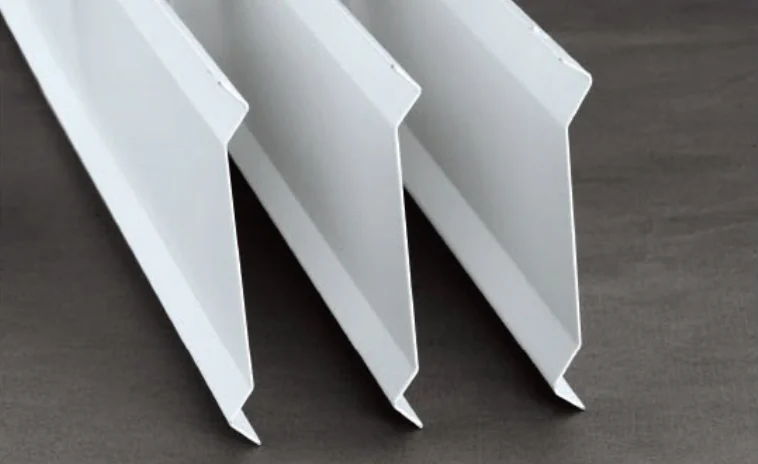
Vertical blades introduce depth and direction. Coordinate blade spacing, suspension and service access for the selected configuration.
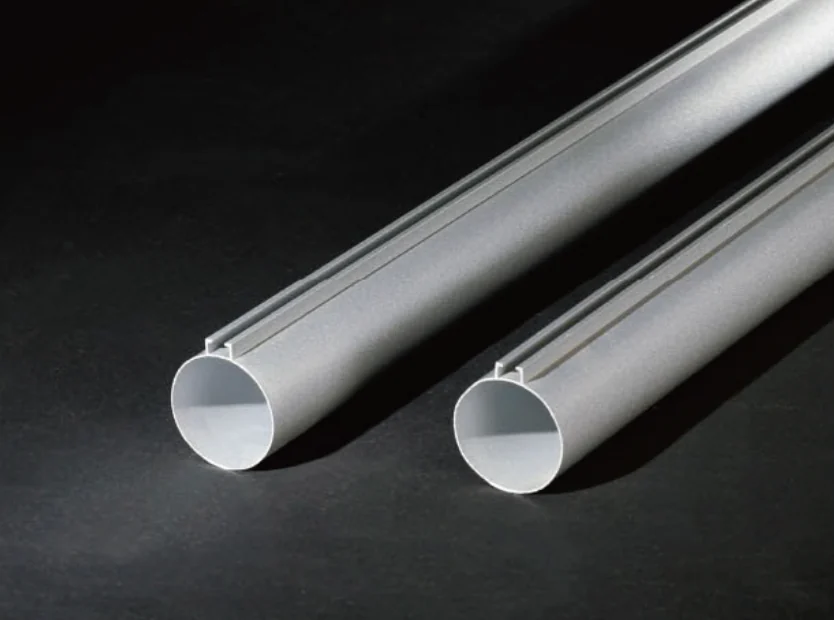
Rounded profiles offer a softer linear expression. Establish spacing and alignment around the desired view through the ceiling.
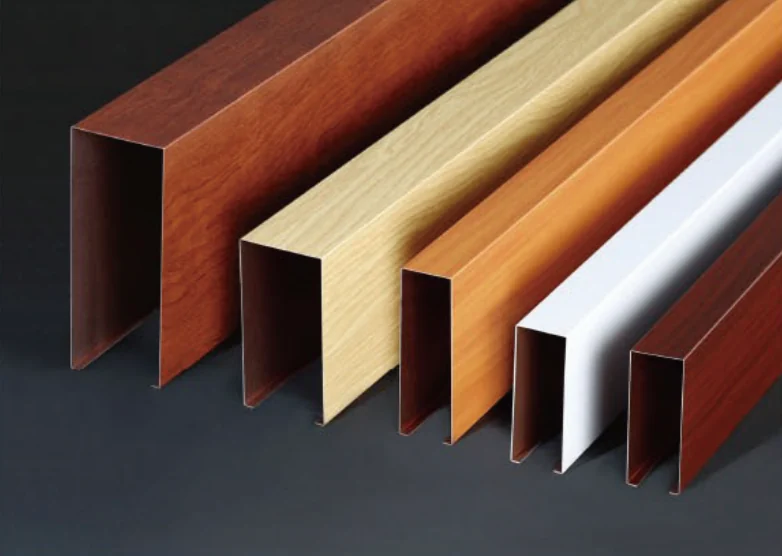
A choice of profile forms for open linear ceilings. Coordinate profile size, spacing, color and end treatment as one composition.
02 / LINE & MODULE
Bring the ceiling, lighting and building services into one coordinated layout.
Set out the rhythm, depth and viewing direction around the proportions of the space.
Coordinate lights, diffusers, sprinklers and other services with panel joints and ceiling profiles.
Plan access positions and removal sequences for the chosen system before production.
Coordinate flat-panel edges, access and perimeter details with the selected system.
03 / COLOR & DETAIL
Connect the visible finish with panel layout, edges and suspension details.
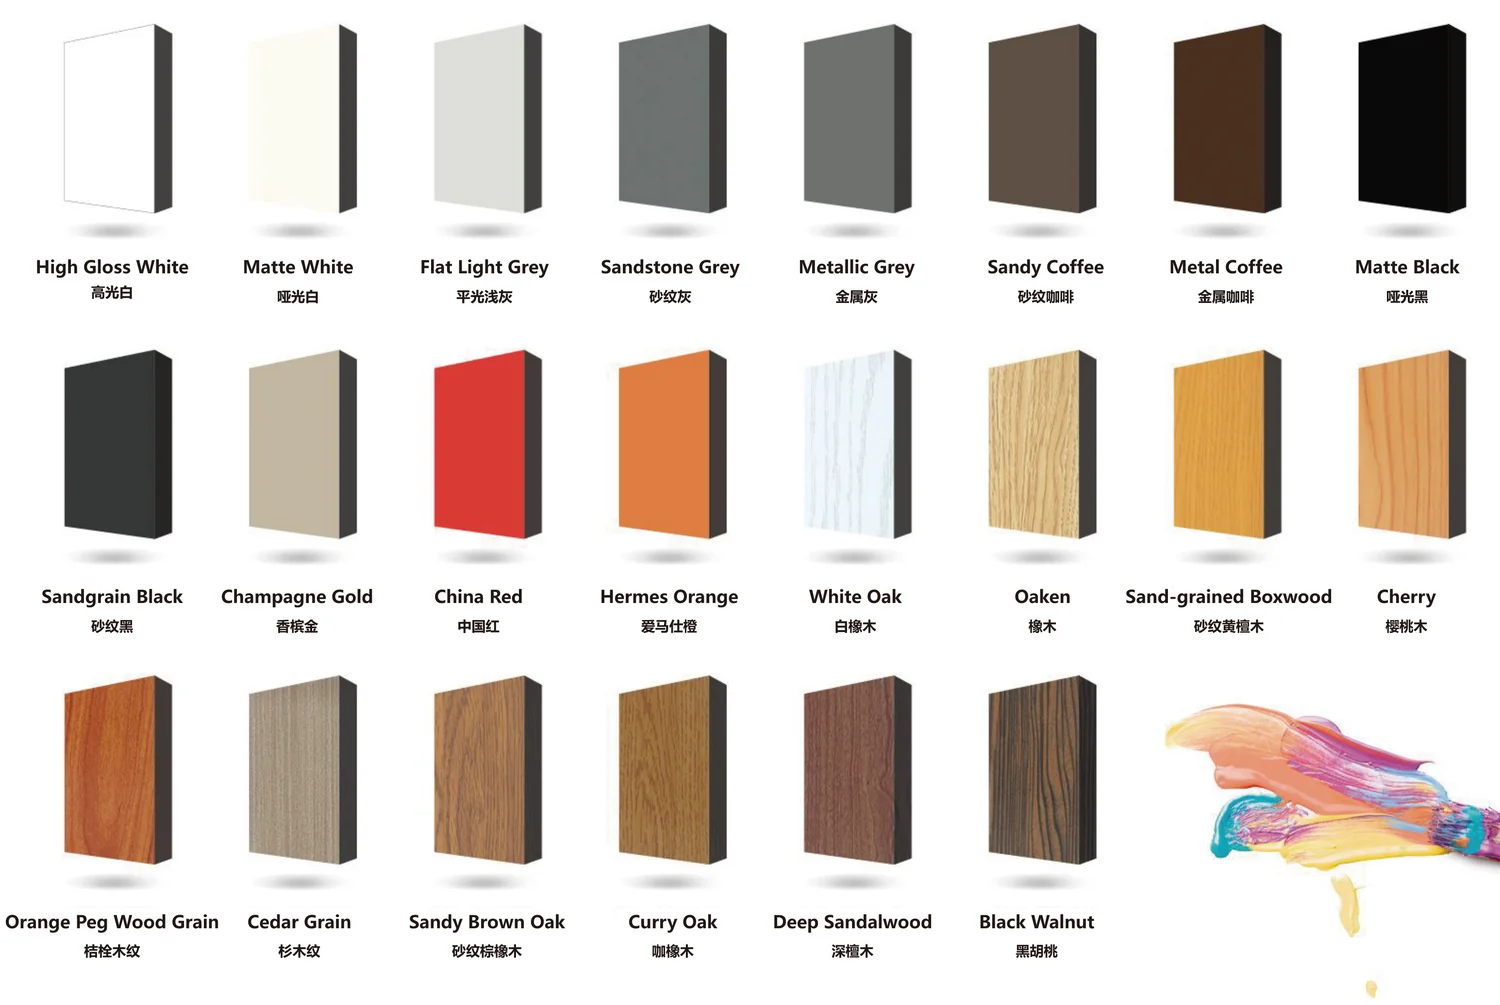
Finish availability depends on the system. Confirm color and texture with a physical sample.
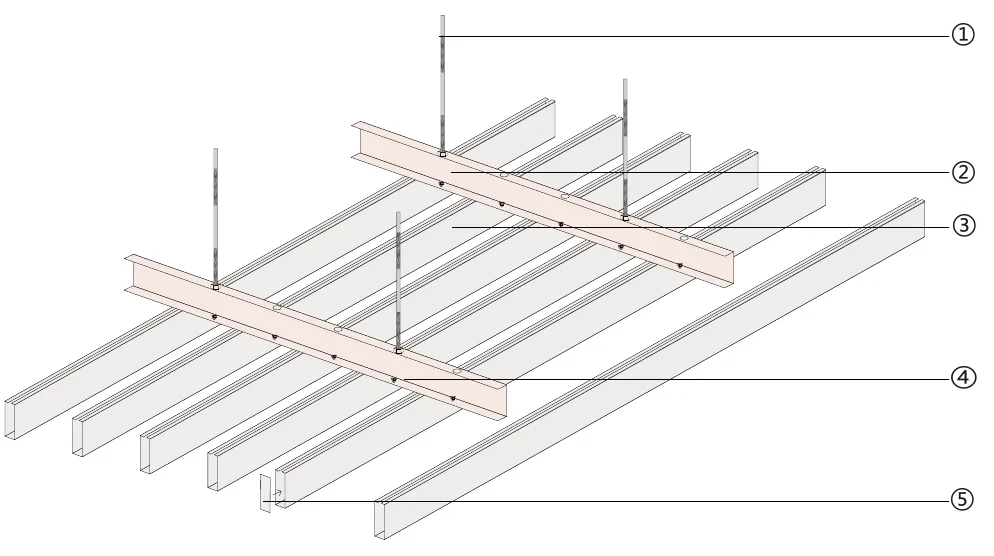
Confirm room dimensions, ceiling levels, system form, panel divisions and perimeter details.
Choose the finish from the relevant system range and approve a physical sample under the project lighting.
Coordinate supports, services, access positions and connection details with the project team.
04 / FLAT PANELS
Choose the visible metal and the panel construction separately. Skin thickness, core, edge details and supports work together to determine panel behavior.
01
A single aluminum sheet formed with returned edges; panel size, gauge and any reinforcement are coordinated for the project.
02
A single stainless steel sheet with formed edges; coordinate grade, gauge, finish direction and joints.
03
Aluminum face and backing skins bonded to an aluminum honeycomb core. Coordinate the complete build-up and edge connections.
04
A decorative stainless steel face bonded into a honeycomb panel. The aluminum core, backing and edge details are specified together.
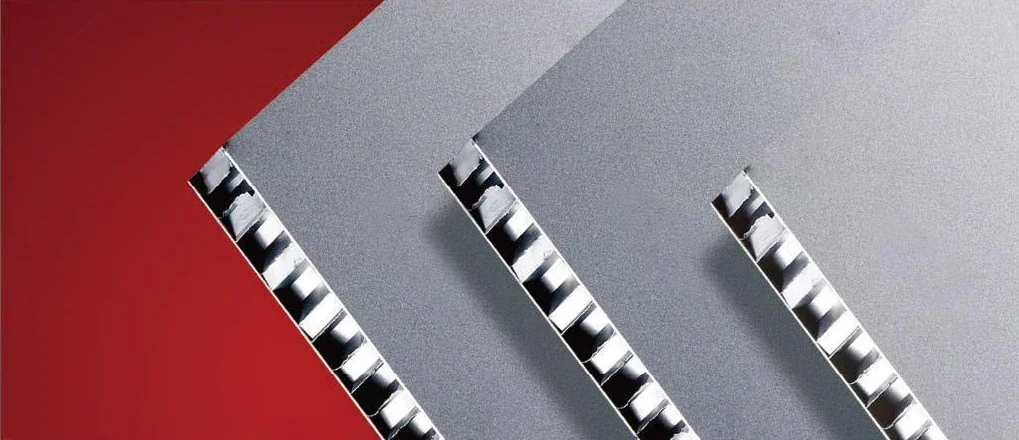
A stainless steel face can be combined with an aluminum honeycomb core. Coordinate the complete panel around its size, layers and connections.
Explore metal honeycomb panels05 / STAINLESS STEEL
Stainless steel is a particular focus of LMC’s custom metal work. Explore the way a ceiling reflects light, carries a grain or introduces a patterned surface.
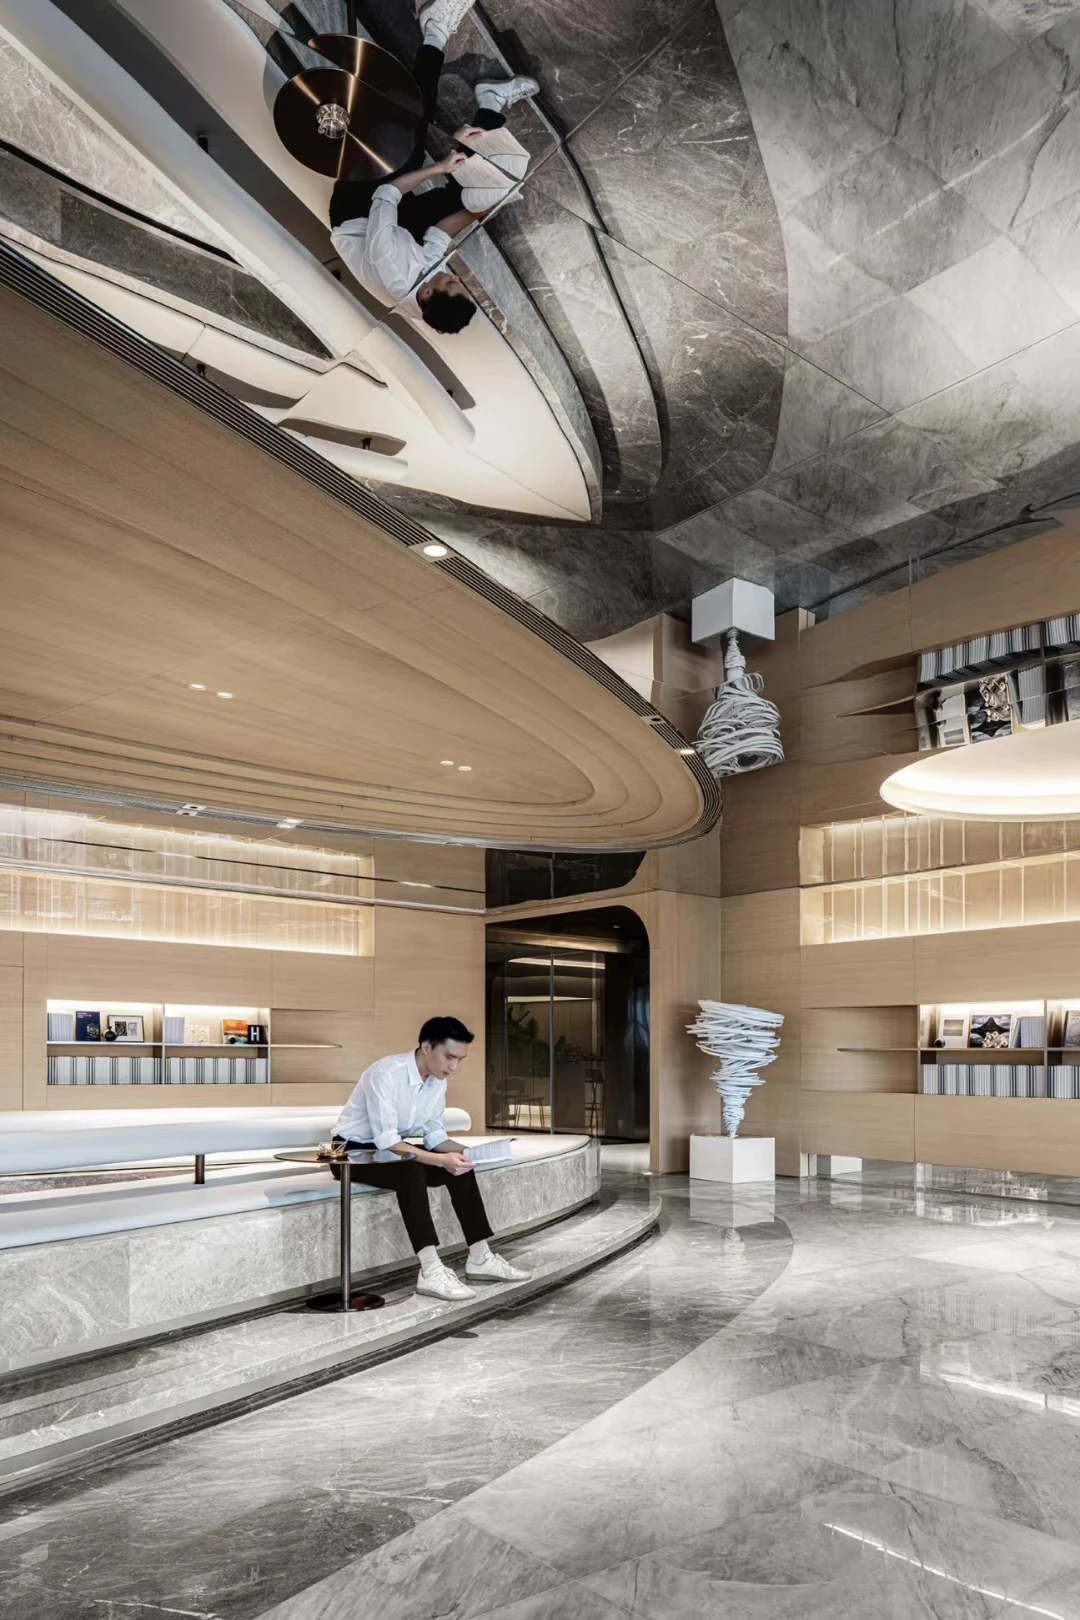
Choose a base texture
A highly reflective surface that brings the surrounding space and light into the ceiling.
Embossed textures and other finish combinations can also be discussed for the project.
Natural silver · Base texture
Champagne gold · Bronze · Black
Select the base texture first, then a compatible color. Review the final sample under the project lighting.
06 / MATERIAL CHOICE
Start with the desired appearance, then coordinate the material, construction and installation.
| Consideration | Aluminum | Stainless steel |
|---|---|---|
| Design focus | A lightweight material with a broad choice of ceiling forms. | Metallic reflections, directional grain and textured surfaces. |
| Surface options | Coated colors, anodized finishes and wood effects, depending on the system. | Mirror, hairline, sandblasted, etched, embossed or water-ripple finishes, with compatible PVD colors. |
| Project coordination | Profile, gauge, finish, panel layout and supports. | Grade, gauge, surface texture, color, reflection direction and joints. |
Compare the complete panel and suspension assembly when assessing weight and project requirements.
07 / APPLICATIONS & DETAILS
Compare open lines, complete planes and reflective surfaces, then look closer at edges, transitions and installation details.
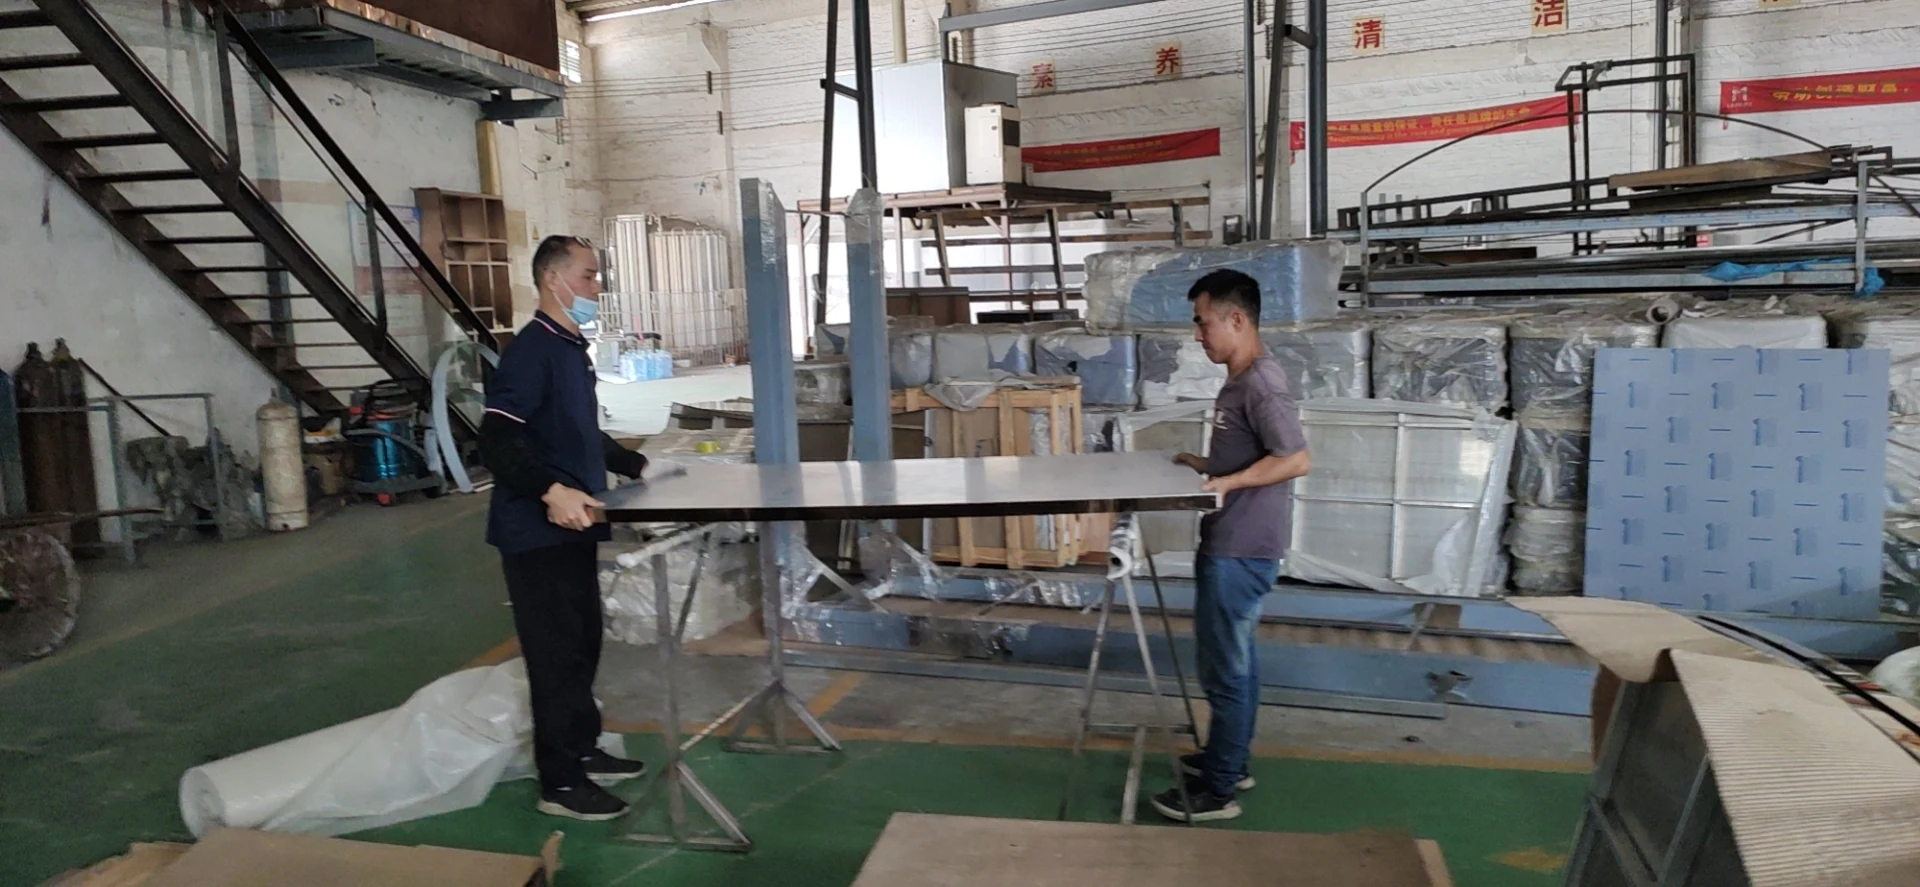
Construction photograph
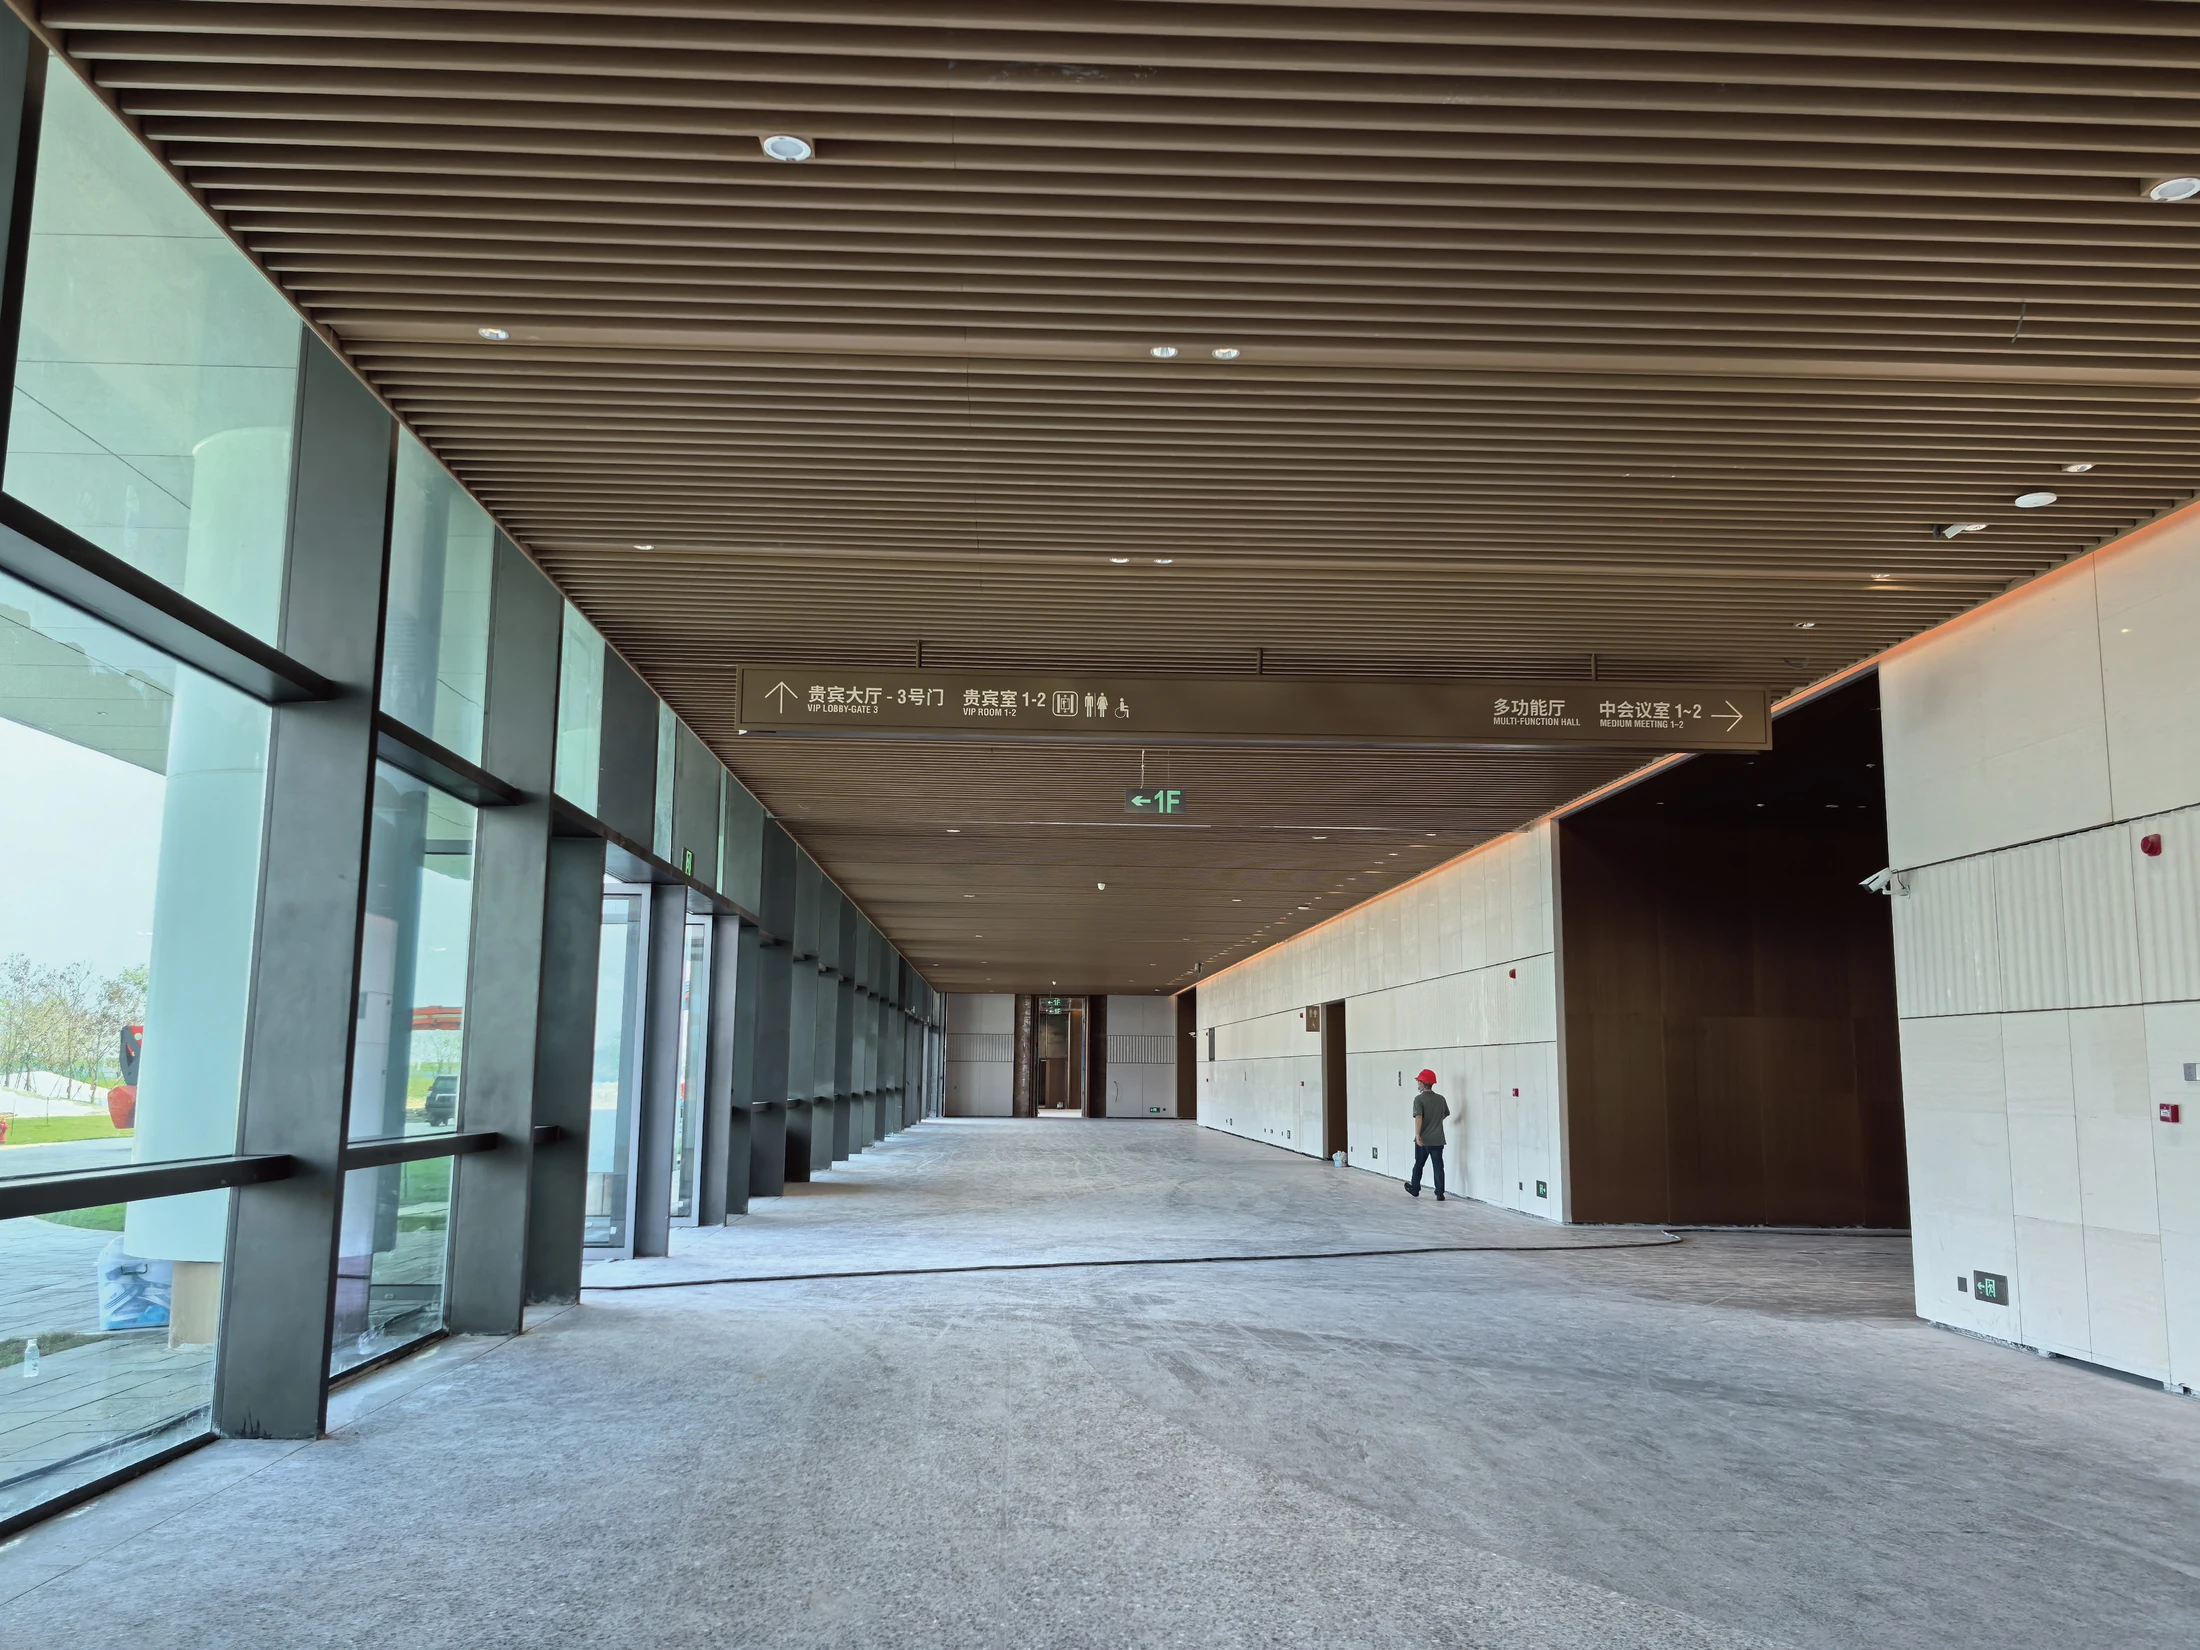
Linear corridor ceiling · Site photograph
Construction photograph
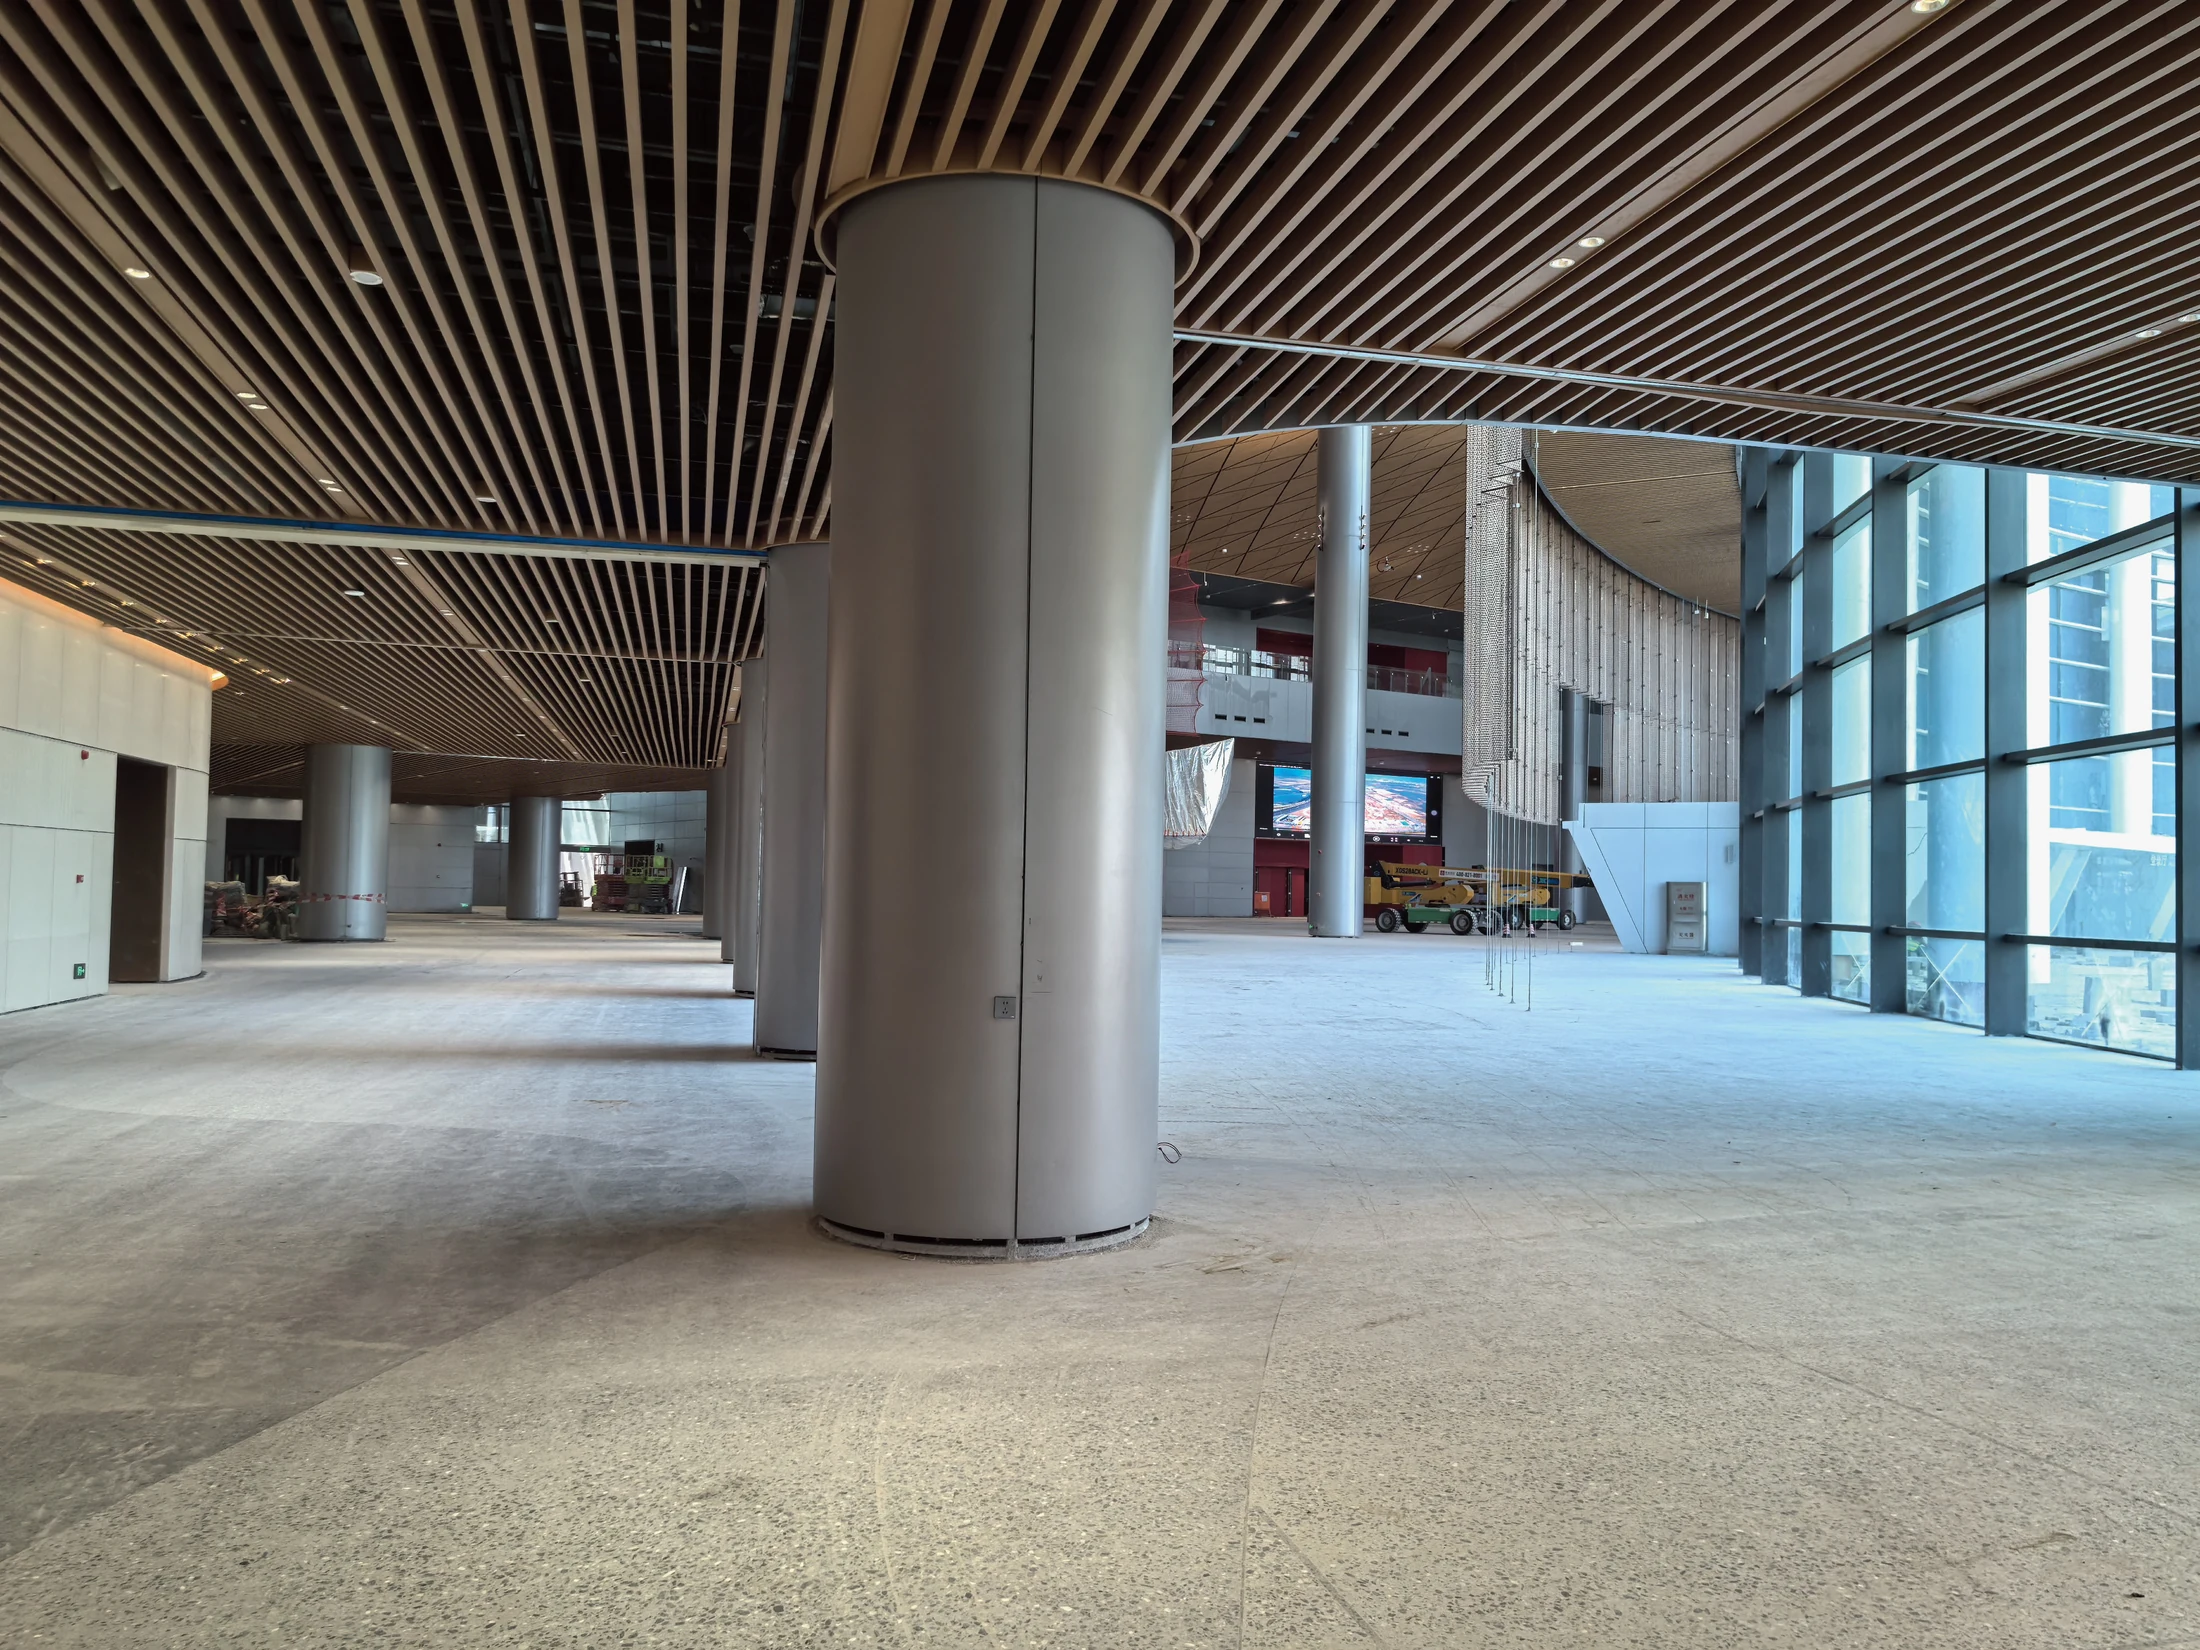
Hall baffle ceiling · Site photograph
Design reference
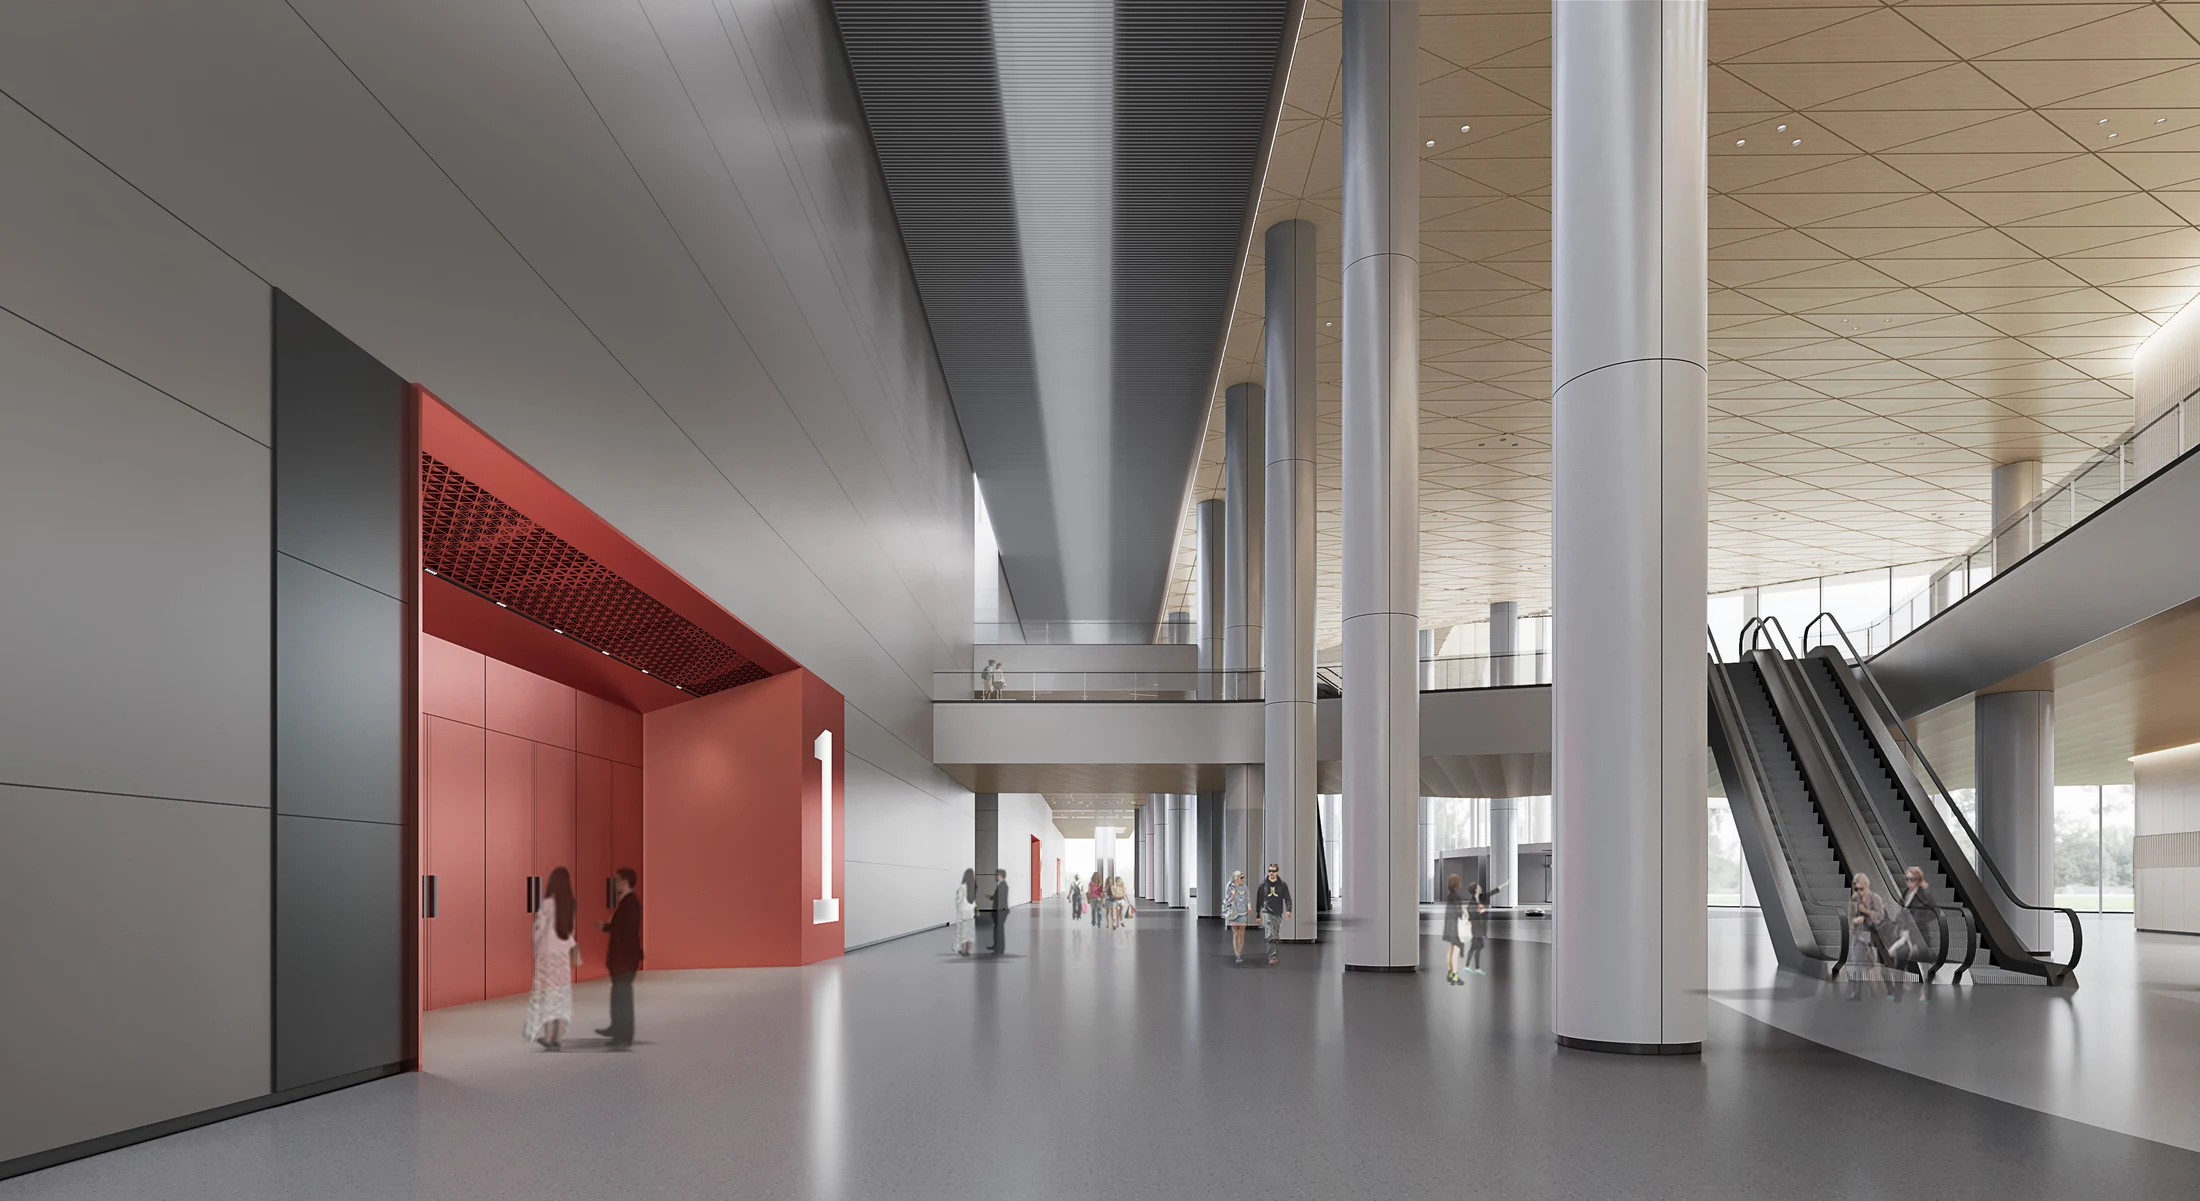
Continuous ceiling planes · Render reference
Design reference
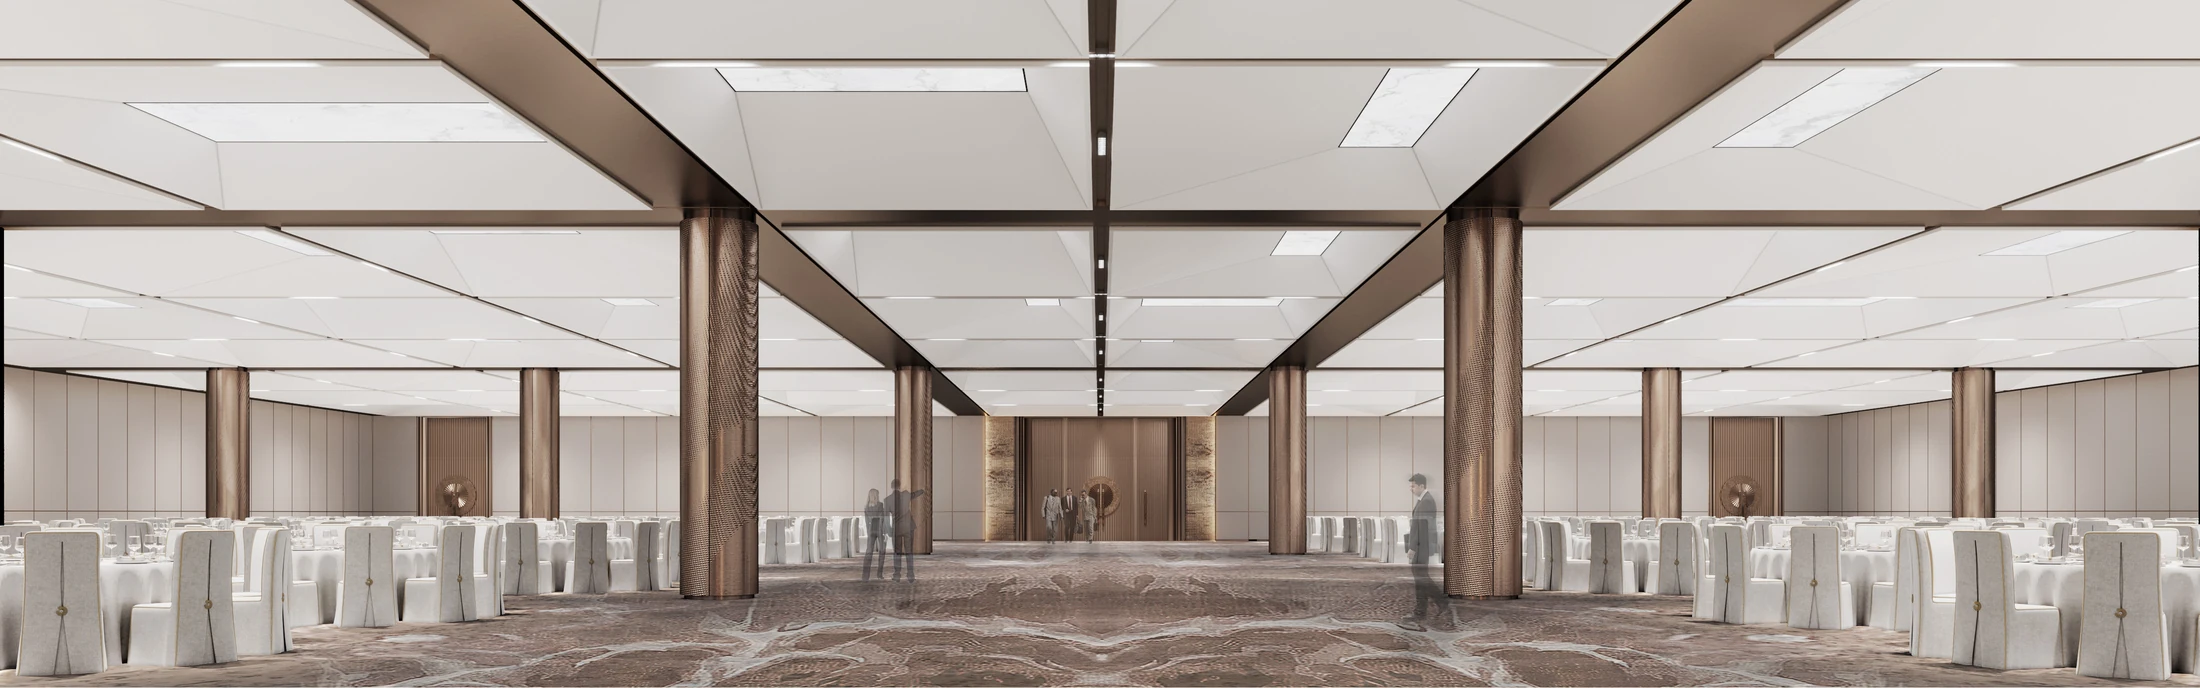
Gridded ceiling · Render reference
Interior application
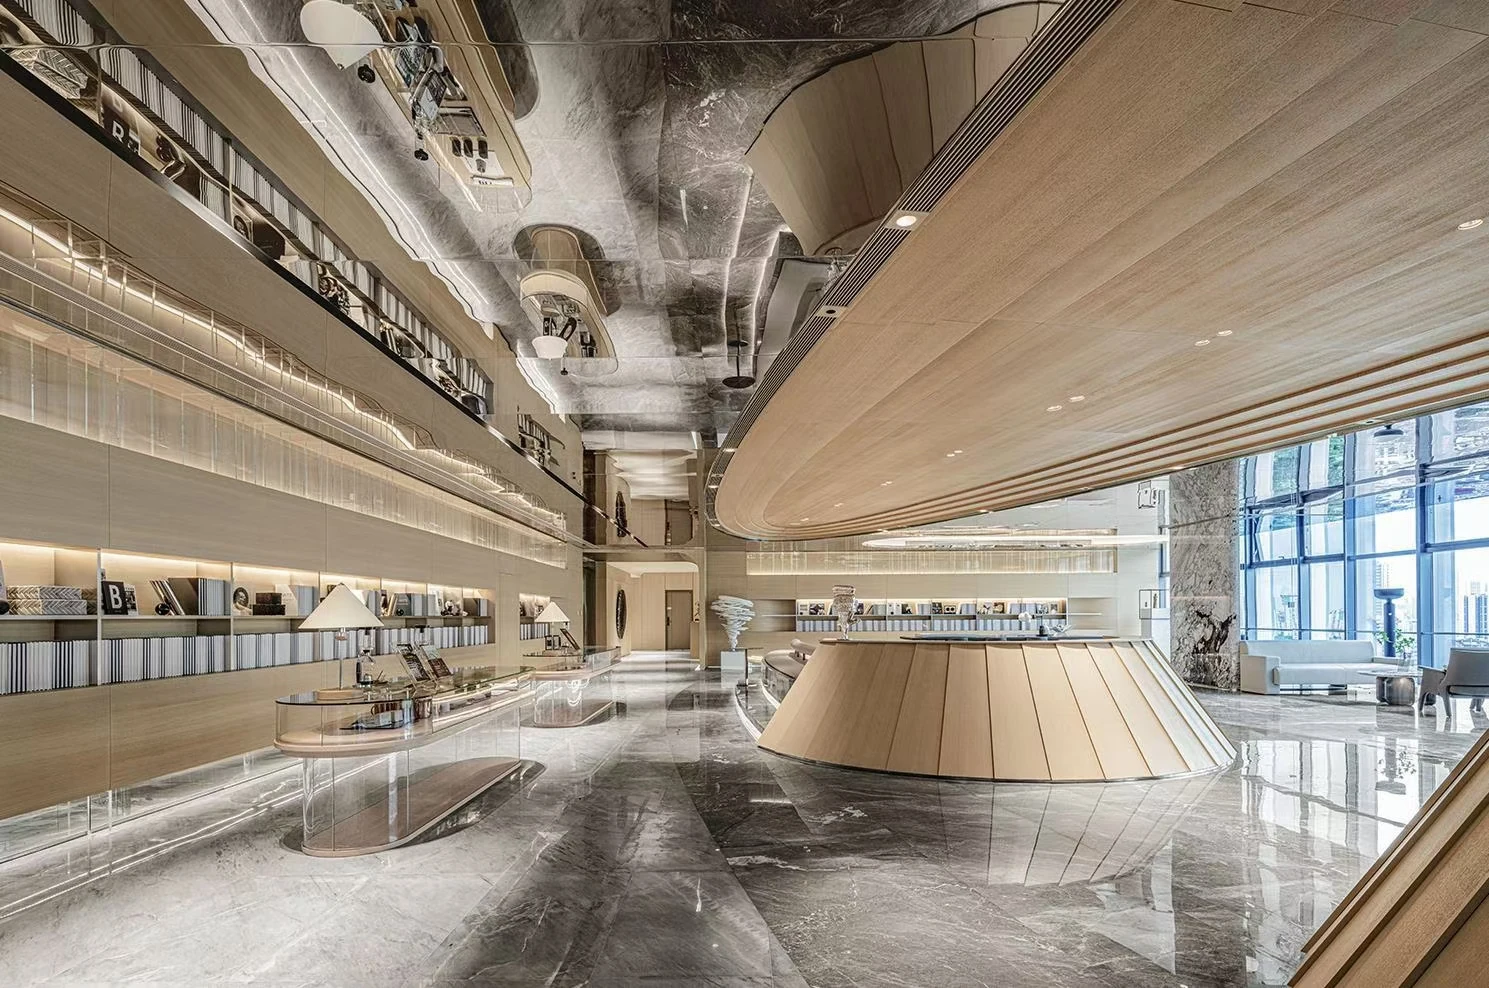
Mirror ceiling · Space application
Interior application
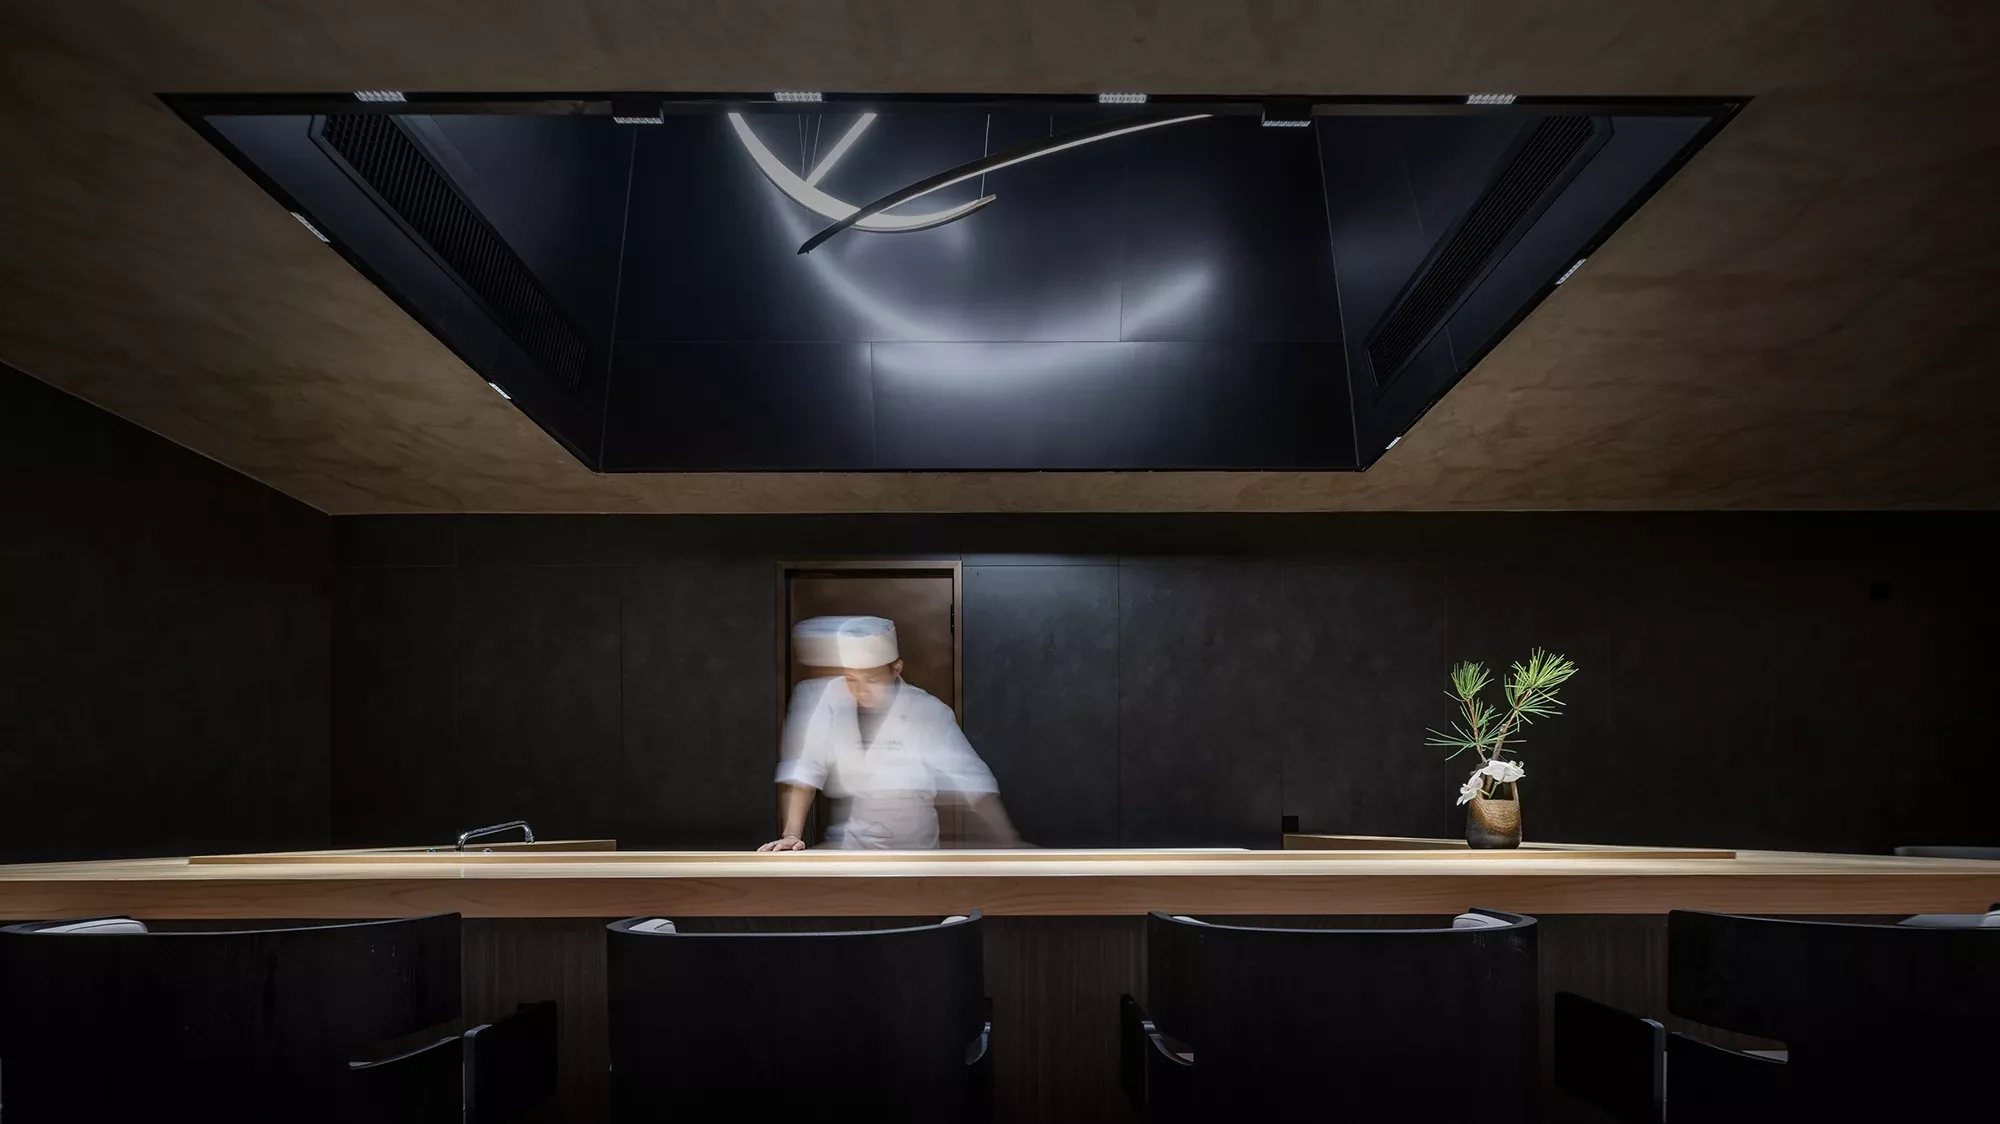
Dark ceiling · Space application
LMC ALUMINUM CEILING SYSTEM CATALOG
Explore flat panels, strips, grids, blades, tubes and baffles.
Continue through profiles, fixing diagrams, finishes and project references.
09 / QUESTIONS & ANSWERS
Useful starting points for material selection, design coordination and project enquiries.
Aluminum offers a lightweight starting material and a broad range of ceiling forms and coated finishes. Stainless steel is a strong design option when metallic reflections, directional grain or textured surfaces are central to the space. Compare the complete panel construction, environment, supports and finish samples before selecting a system; material density alone does not determine the weight of the finished ceiling.
Yes. A flat appearance can be made with formed aluminum sheet, formed stainless steel sheet, or honeycomb composite panels faced with either metal. Honeycomb describes the panel construction, not a third face material. For example, a stainless-steel-faced panel can use an aluminum honeycomb core. Panel size, skins, backing, bonding, edges and fixing details must be considered together.
Options for discussion include mirror, hairline, sandblasted, etched, embossed and water-ripple surfaces. A compatible PVD color can add another dimension to the selected base texture. Availability depends on the finish combination, panel geometry and project environment. Confirm the exact texture, color, grain direction and adjoining-panel appearance with physical samples.
Acoustic behavior depends on the complete construction, including perforation pattern, backing or infill, cavity and installation. A perforated metal face by itself does not establish an absorption rating. Share the acoustic target and project requirements so an appropriate assembly and the relevant test evidence can be reviewed.
Start with the fire requirements that apply to the project and the intended ceiling assembly. Face metal alone does not establish the fire classification of coatings, adhesives, cores, backing or the installed system. Any claimed reaction-to-fire or fire-resistance performance needs evidence that applies to the specified construction and installation.
Provide the reflected ceiling plan and the locations of lights, air outlets, sprinklers and equipment needing access. The project team can then coordinate panel joints, suspension, service openings and removal sequences. Access depends on the selected system; do not assume every panel can be removed independently.
Send drawings or a BOQ, approximate dimensions and quantities, the preferred ceiling form and finish, installation conditions and delivery destination. Reference images are useful if the design is still developing. Panel sizes, gauges, details, scope and pricing are confirmed after the project requirements have been reviewed.
Yes. Screens cannot fully represent metallic color, grain, gloss or reflections. Review a sample under the intended lighting, and confirm viewing direction, grain alignment and how adjoining panels will read together. For a sensitive finish or large visual feature, discuss whether a larger sample or a trial assembly is appropriate.
Discuss panel protection, packing arrangement, panel identification and destination handling as part of the order. Agree the required drawings, panel layout and installation information before production. Delivery and site installation responsibilities, unloading conditions and any on-site support are confirmed in the project scope.
Yes, these elements can be developed as a coordinated metal package. Share the adjoining details so material, grain direction, color, joints and edge profiles can be reviewed together. Different shapes and lighting can change the appearance of the same finish, so use samples to evaluate the junctions and overall effect.
Share drawings, a BOQ or reference images, along with dimensions, quantities, the desired finish and delivery destination.
